Help Guide
Step-by-Step Instructions
TABLE OF CONTENTS
How to Use SignSimpli’s Electronic Signature
- Sign a Document
- Send a Document for Signature
- Four ways to create your Digital Signature using SignSimpli
- Create your online signature from your computer
- Create a Form to Sign
- Create a Form to Send for Signature(s)
- Upload/Create a Document to Send for a Signature to multiple recipients
- Add Recipient eSignature
- Use an image of your signature to Digitally Sign documents
- Adding fields to Digitally Sign documents or Send for a Signature(s)
- Adding fields to Send for a Digital Signature
Welcome to SignSimpli!
In this Welcome Guidebook you will learn how to electronically insert your signature on all document types such as PDFs or send your document to be signed by one or multiple recipients in simple steps.
In addition, you will be taught how to use key features with our Electronic Signature to Sign and Send documents online keeping crucial processes, personal or in business moving forward. and a variety of other useful signing functions.
Have fun signing, creating or sending to sign… Give it a shot, it’s simple:)
-The SignSimpli Crew
1. Sign a Document
There are times you want to just sign a document yourself—just you and no other signers, maybe you want to send a copy of the signed document to others. This might be a document someone sends to you outside of SignSimpli, or a form you need to fill out or create and send to someone. With the ‘Sign my own document’ feature, you can quickly upload a document to your SignSimpli account, sign it, and send the signed document to anyone who needs to receive a copy.
If you don’t have an account yet, and want to sign a document
-
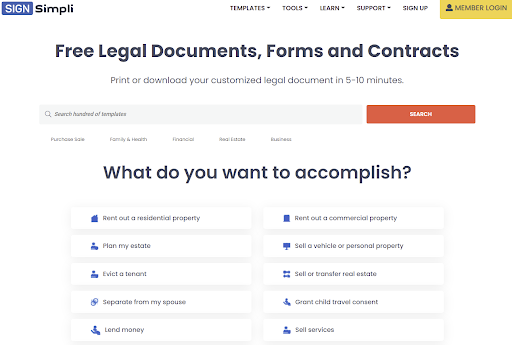
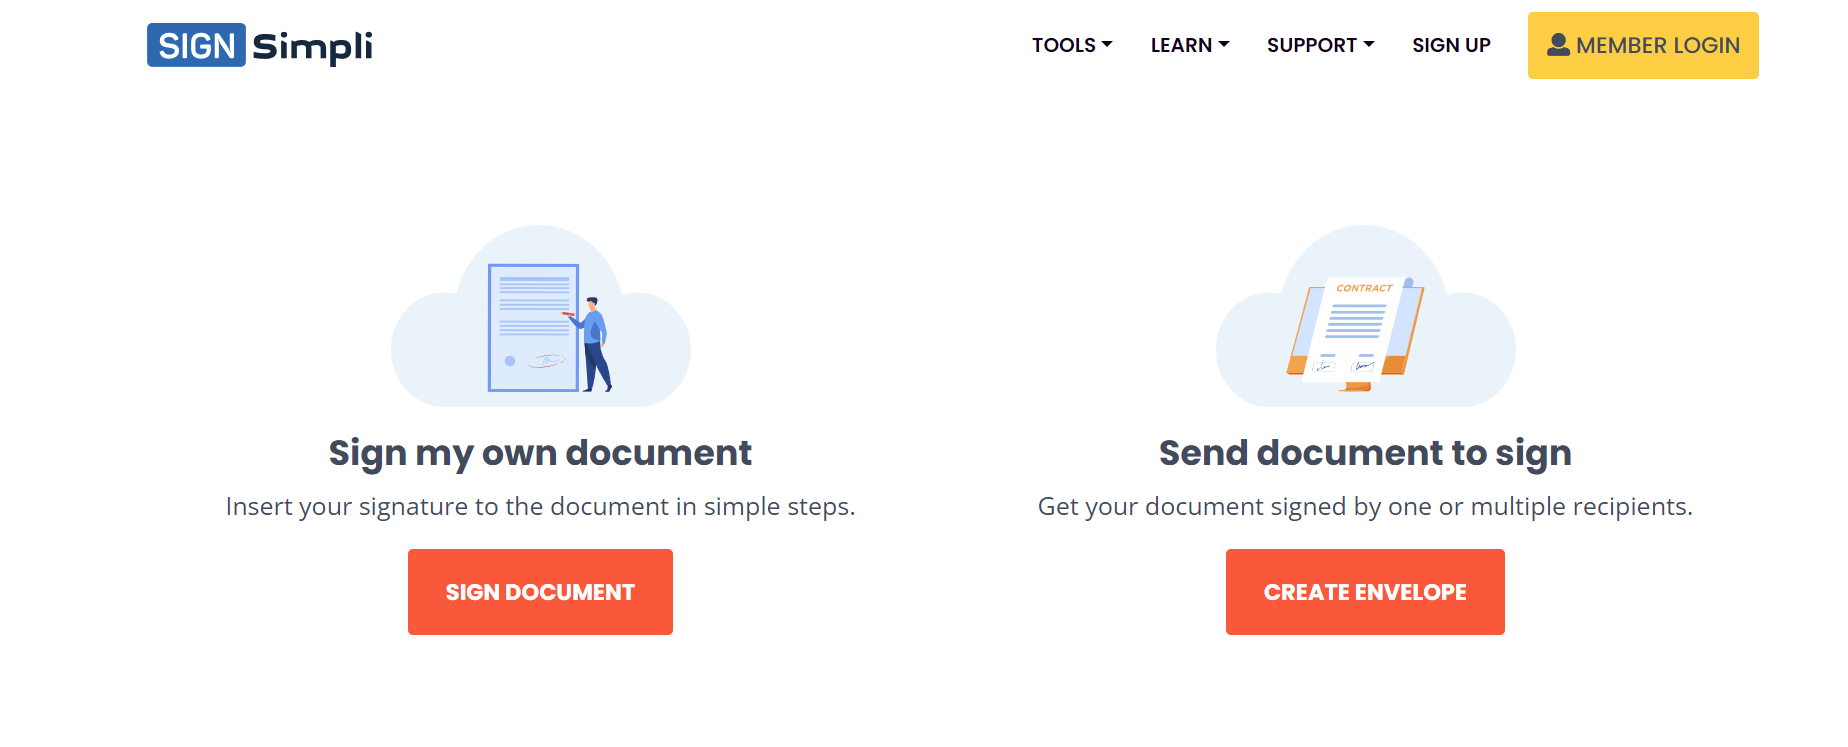
Go to the homepage of https://SignSimpli.com/ and select "Let’s Start Signing".

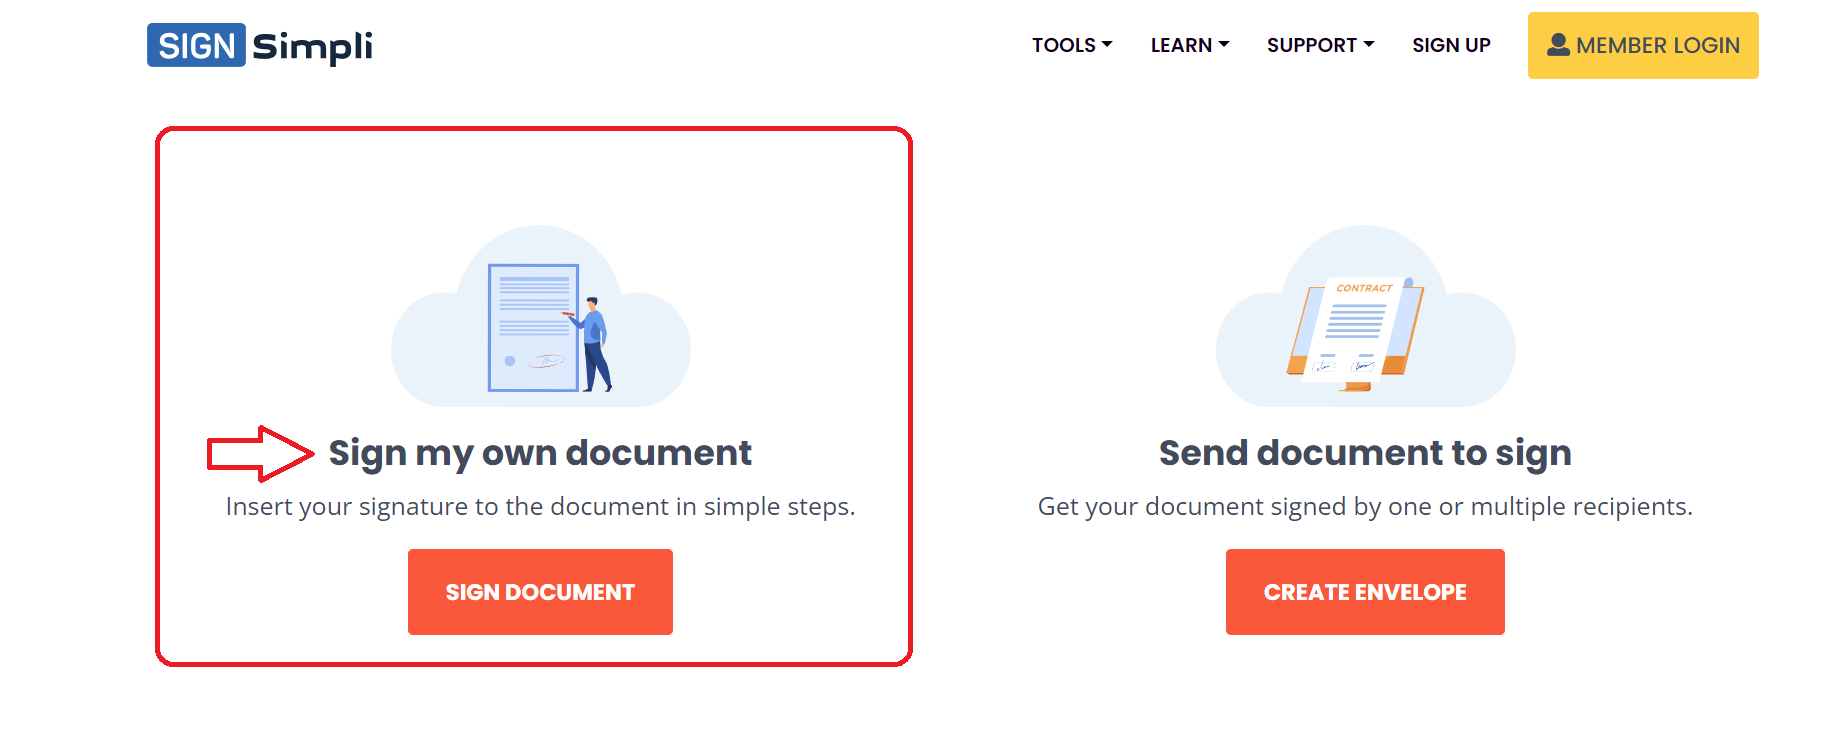
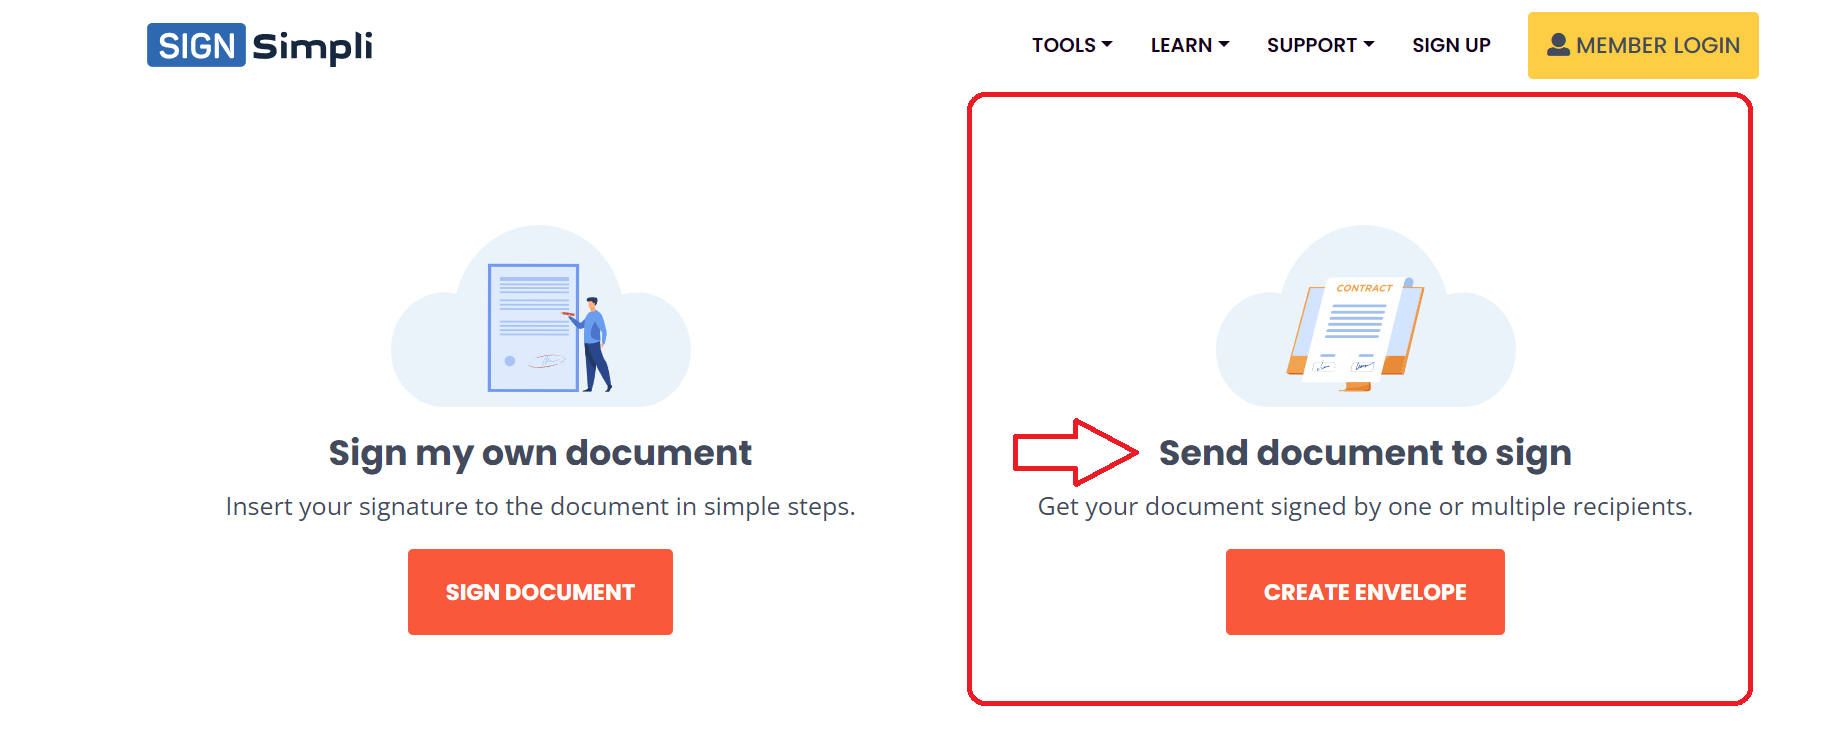
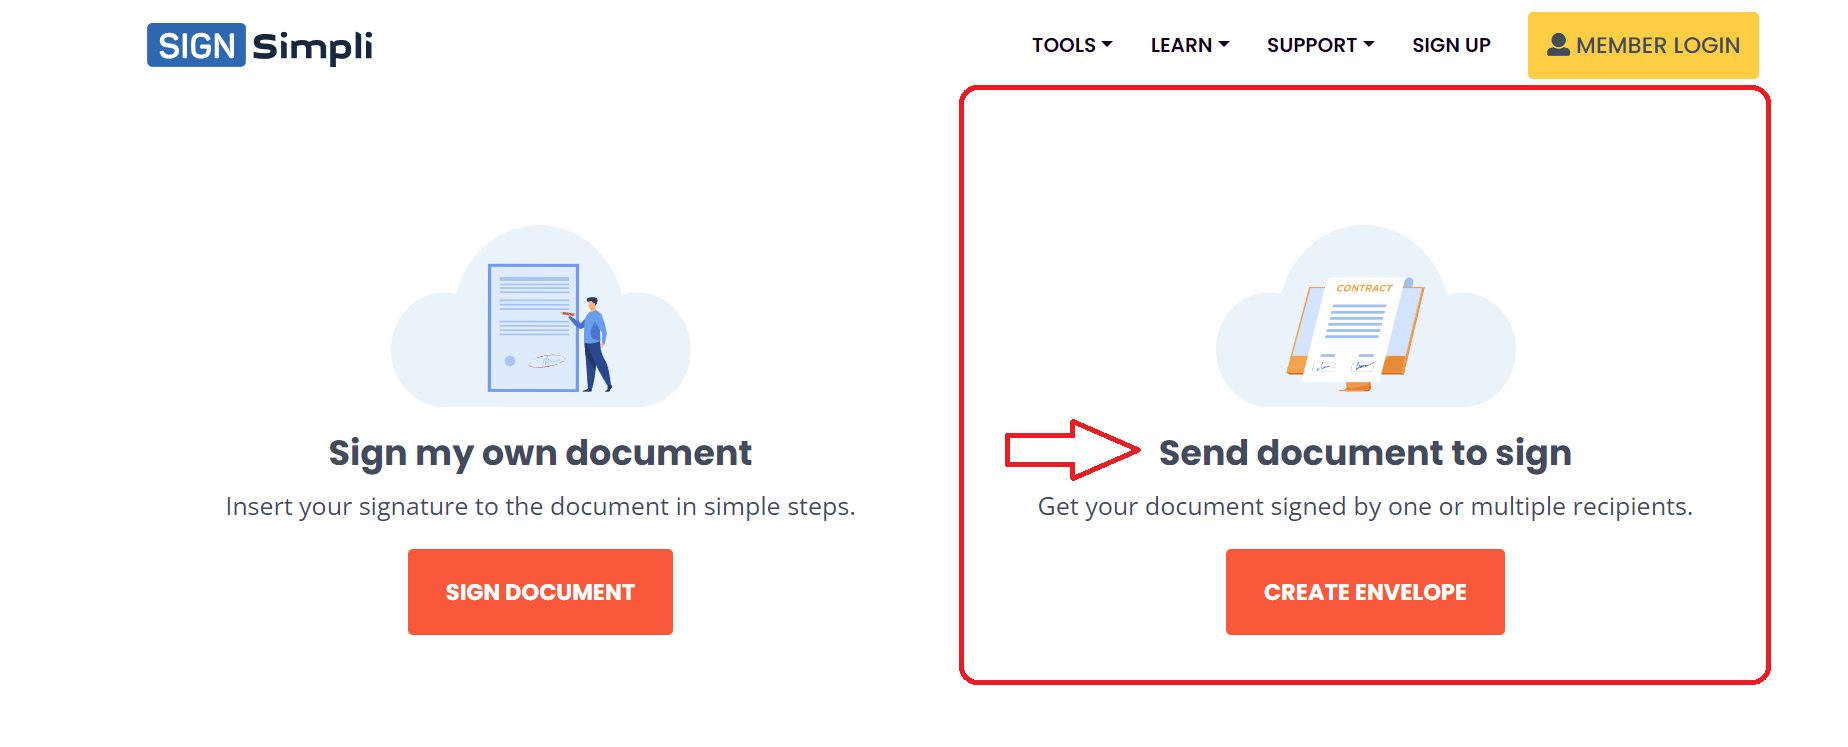
- You will be prompted to ‘Sign my own Document’ or ‘Send document to Sign’ a document.
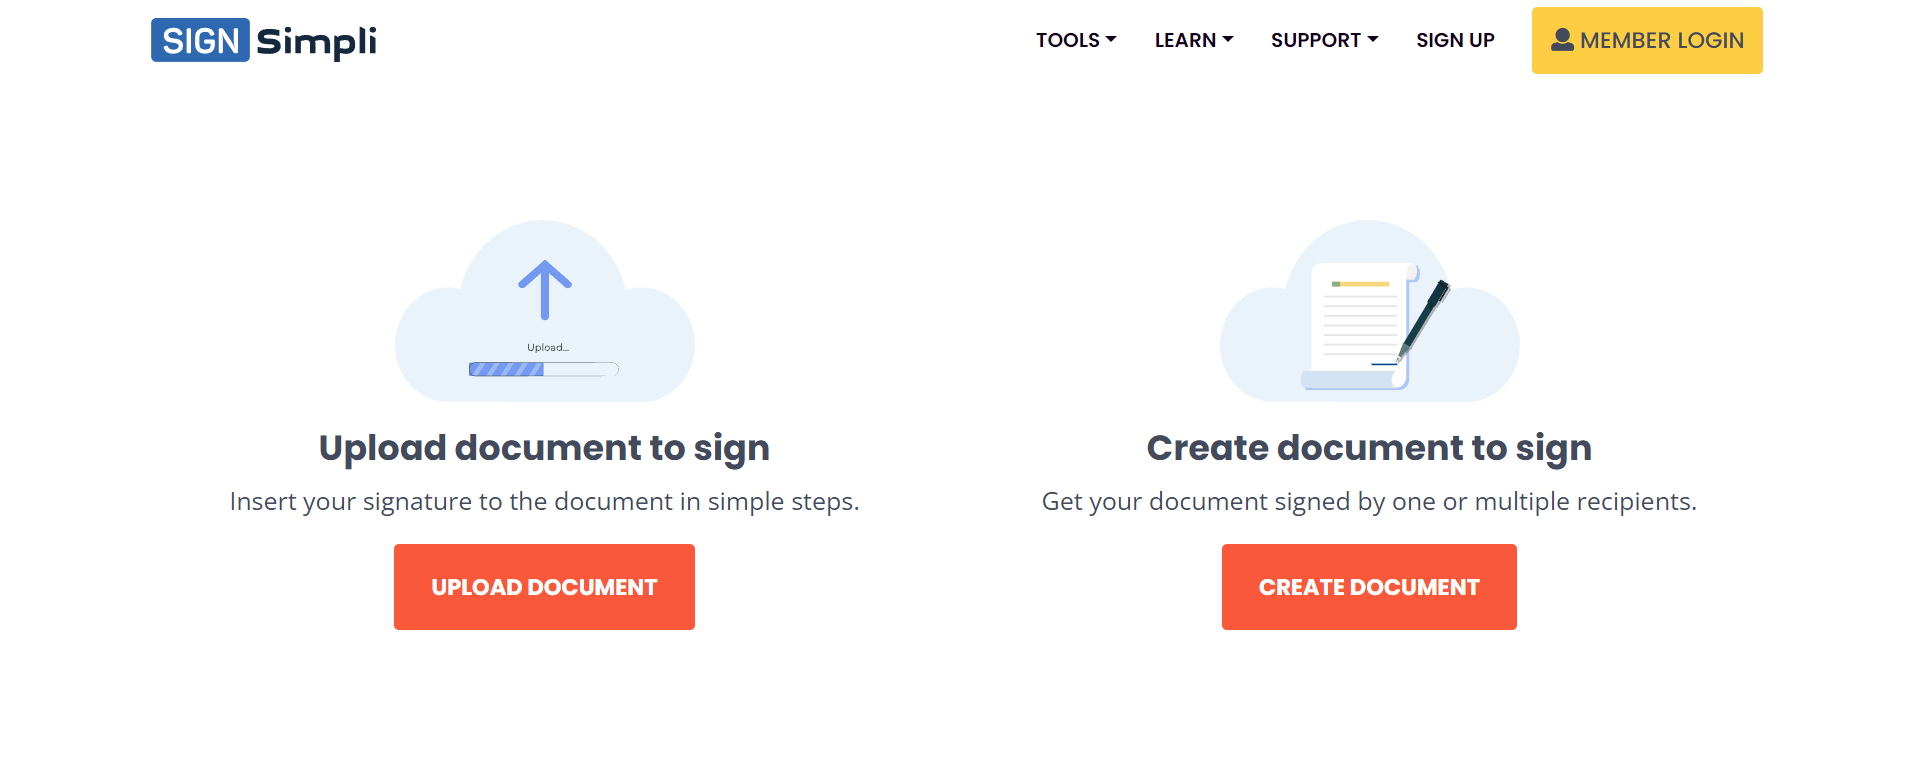
- Once on the next page, choose the correct document you would like to sign and upload your document or create a document from our library of legal forms.

- Once you've uploaded your document or created it, then to finish creating your signature, click "Continue" to begin signing your document.

- Click on the signature field then drag and drop fields from the left panel onto the document.

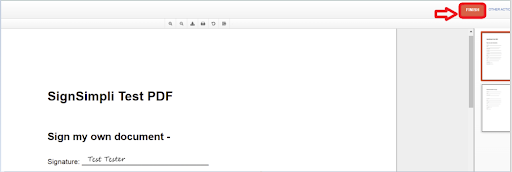
- Once you've placed and filled in all your fields, click FINISH.

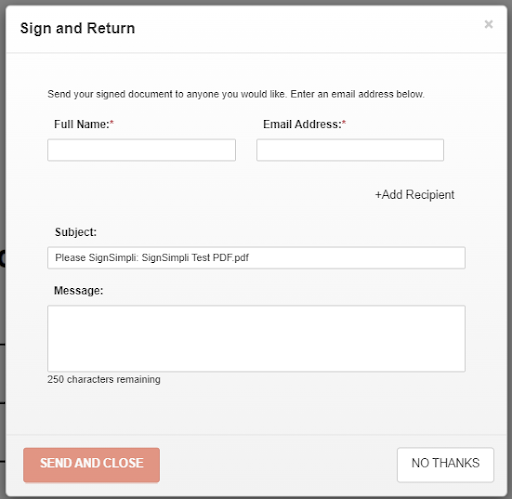
- (Optional) You can send a copy of your signed document with a message to anyone you would like.
- a) Enter the recipient's name and email address in the fields provided.
- b) To add more recipients, click +ADD RECIPIENT.
- c) Complete the email subject and message fields as desired.
- d) Click SEND AND CLOSE.

- Your document is signed. If you choose to send a copy to anyone, each recipient receives an email with a link to your completed document.
- You can access the completed document from your account screen dashboard.

If you already have an account…and just want to sign a document.
- Click on My Account ⇢My Documents

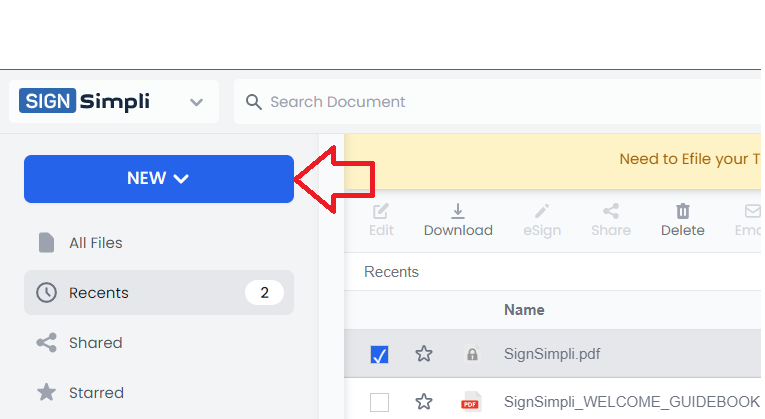
- You will land on a page titled "Documents", to the right, click ‘+Add New’ and find what document you want to add your signature to.

- You will be prompted to upload a document.

- Click on the document and a list of options will appear. You can Download, Print or Delete straight from this screen.

2. Send a Document for Signature
If you don’t have an account yet, and want to send a document for a signature
- Go to the homepage of https://SignSimpli.com/ and select "Let’s Start Signing".

- You will be prompted to ‘Sign my own Document’ or ‘Send document to Sign’. Select ‘Send document to Sign’.

- Once on the next page, choose the correct document you would like to send for a signature and upload your document or create a document from our library of legal forms.
A. Choose the correct document you would like to send for a signature and upload your document.
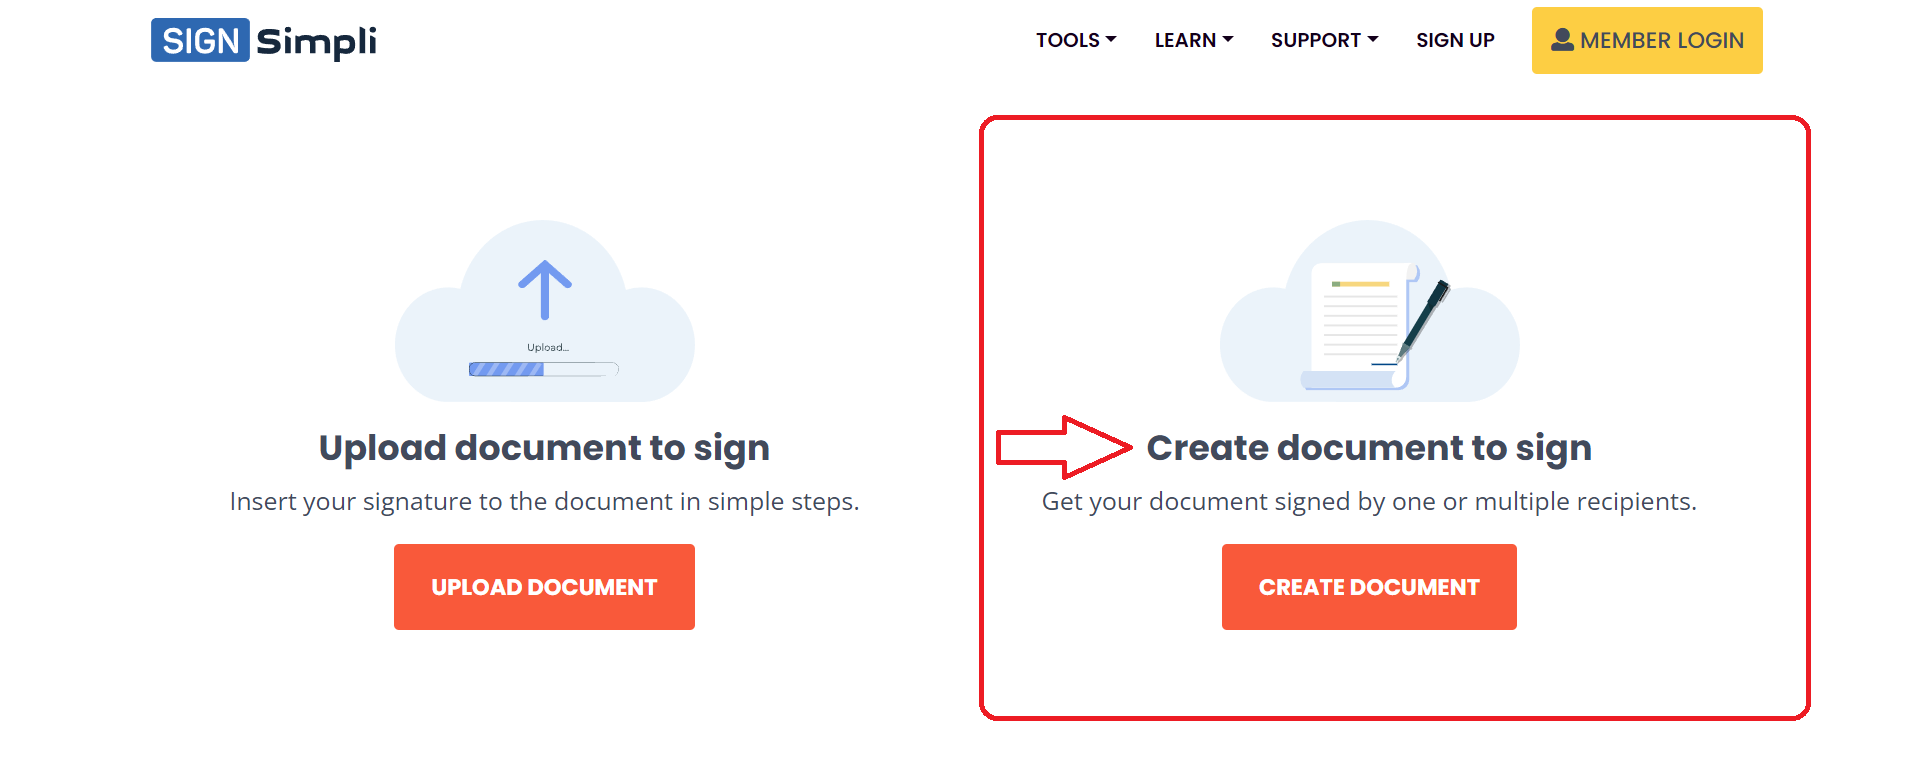
B. By selecting ‘Create Document to Sign’ on the next page, choose the correct document you would like to send for a signature and create a document from our library of legal forms.

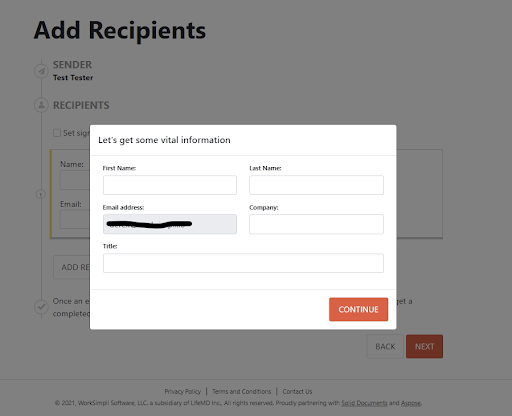
- Once you've uploaded your document or created and finished. Next is adding your vital information to before sending your document for a signature. When finished click ‘Continue’.
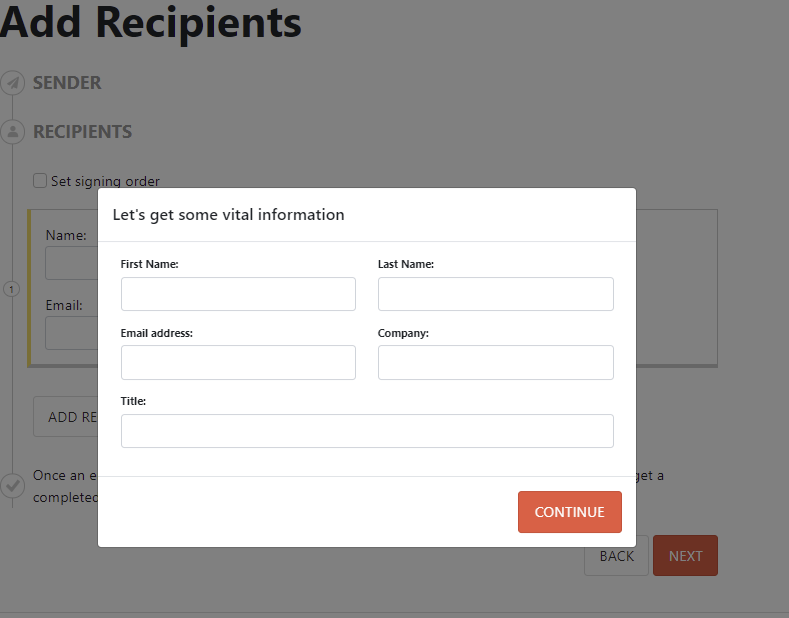
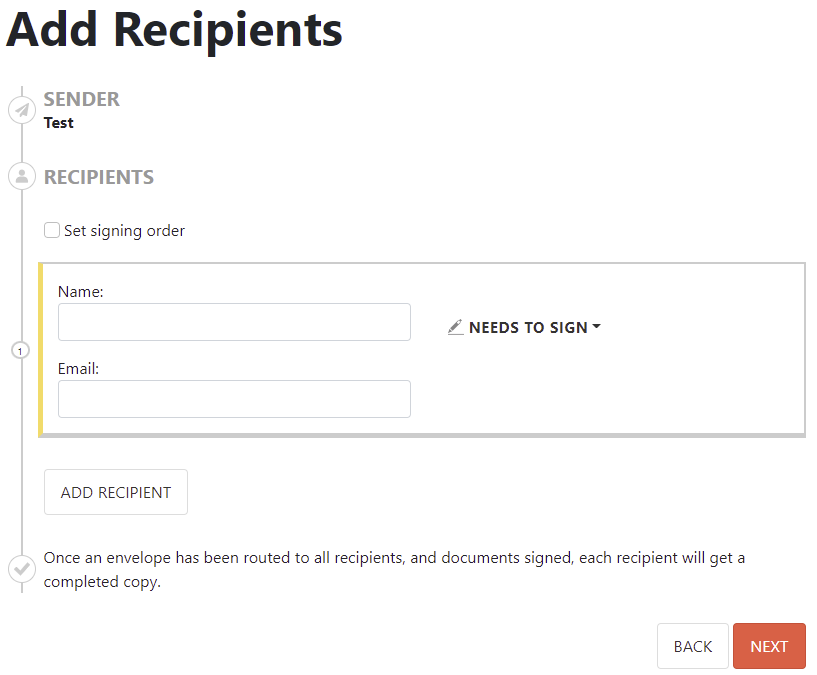
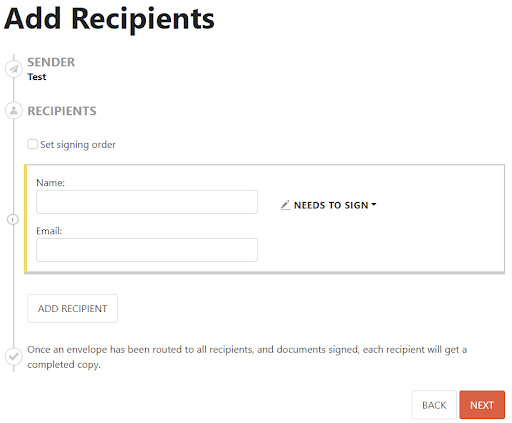
- On the next screen that appears add in the Recipient information and then click on ‘Next’.

- Next screen add in the fields by clicking and dragging each field to the selected spot on the document.

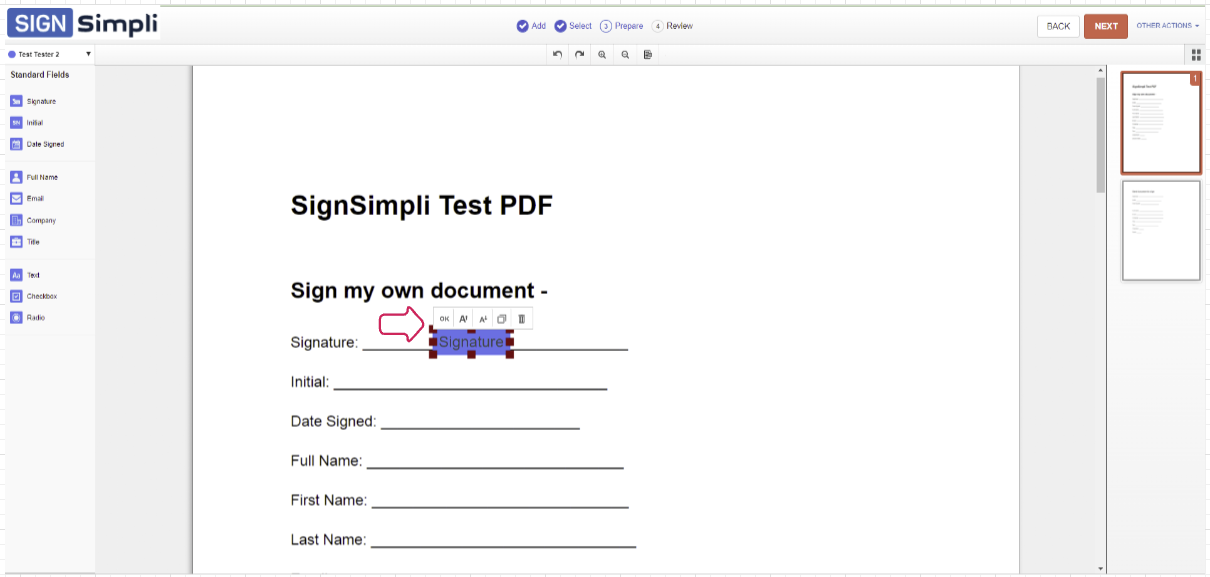
- Now add in the fields and then click on ‘Ok’ to place a field on the document.

Note: To adjust the size of a field, click on one of the small boxes around the field and then drag to adjust to the size you want.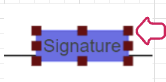
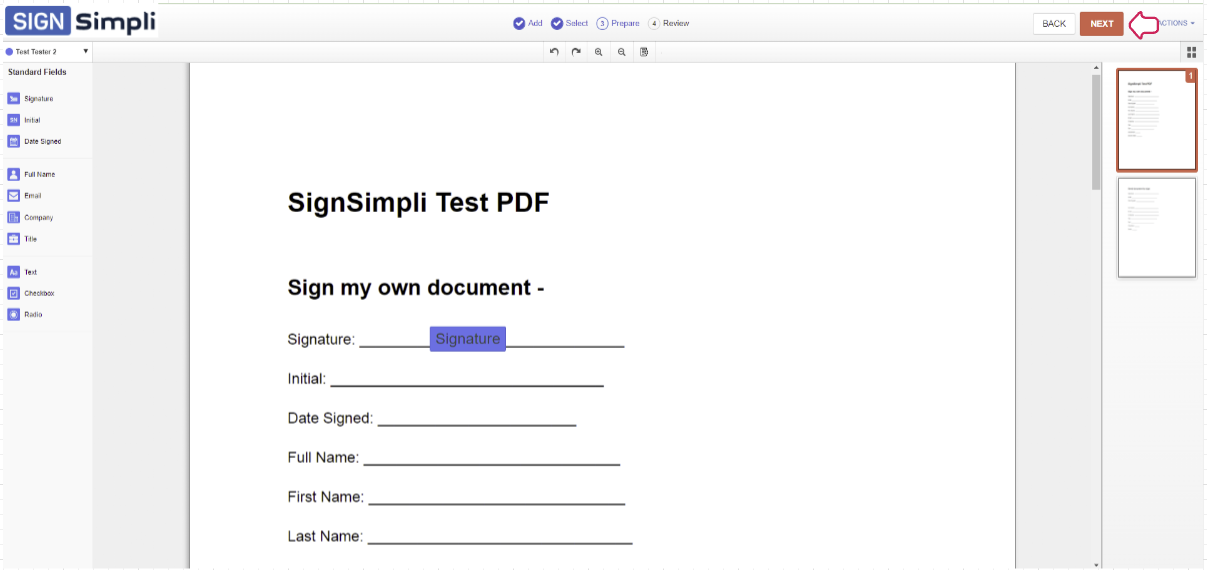
- Once all the fields are placed on the document then click on ‘Next’ to send the document.

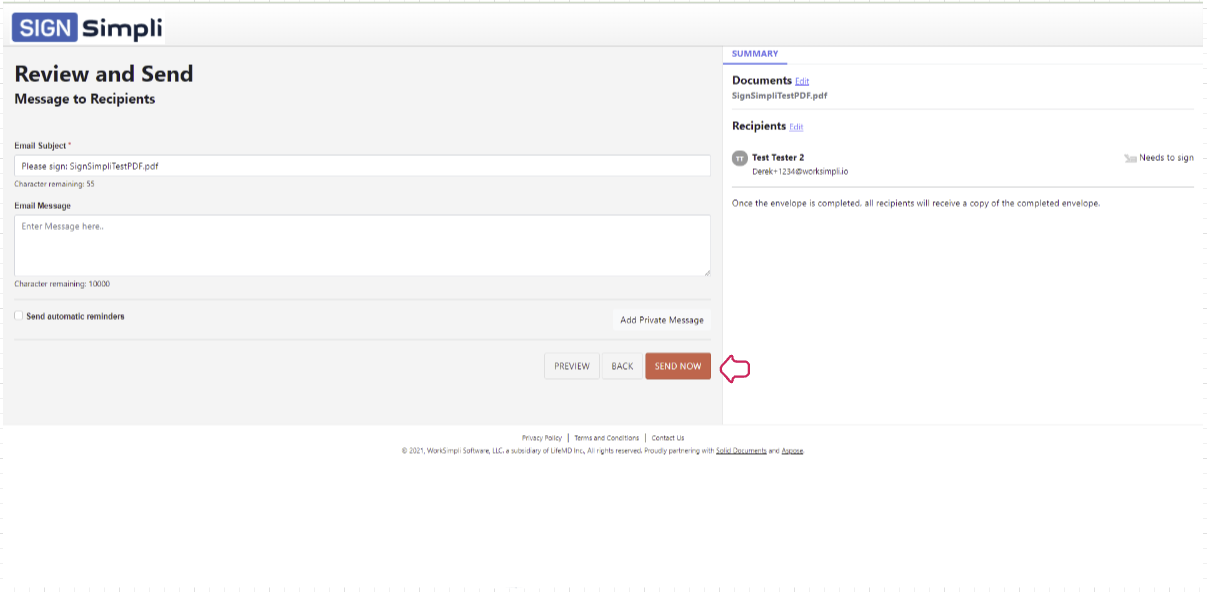
- Next is the screen that appears before your document is sent, this screen will allow the ability to ‘Review and Send’. Also, add any additional message to the recipient. When finished click on ‘Send Now’ to send the document.
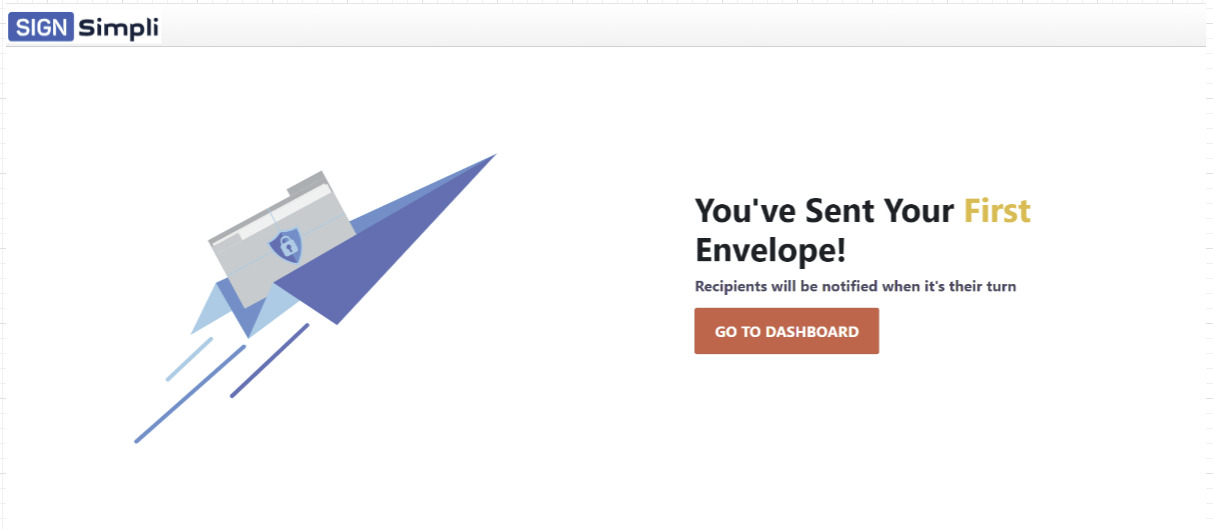
- The last screen that appears is notifying a Sender that the document has been sent.
If you already have an account and your document is already a PDF or want to Create a document, and you want to Send for a Signature
- Click on My Account ⇢My Documents

- You will land on a page titled "Documents", below that, click "+Add New" and choose a document to upload.
- Now, click on "Edit" and your document will open.

- You will be prompted to ‘Sign my own Document’ or ‘Send document to Sign’. Select ‘Send document to Sign’.
- Note: Will this screen be in this flow & How if they’ve already uploaded a doc?>You will be prompted to ‘Upload a Document to Sign’ or ‘Create Document to Sign’.

- Once the document has been uploaded or selected and created then navigate to the end.
- Next as the Sender, add in your Vital information into the few fields and then click on ‘Continue’.

- On the next screen that appears ‘Add Recipients’ information and then click on ‘Next’.
- Next screen add in the fields by clicking and dragging each field to the selected spot on the document.
- Now add in the fields and then click on ‘Ok’ to place a field on the document.
Note: To adjust the size of a field, click on one of the small boxes around the field and then drag to adjust to the size you want.
- Once all the fields are placed on the document then click on ‘Next’ to send the document.
- Next is the screen that appears before your document is sent, this screen will allow the ability to ‘Review and Send’. Also, add any additional message to the recipient. When finished click on ‘Send Now’ to send the document.

- The last screen that appears is notifying a Sender that the document has been sent.

3. Four ways to create your Digital Signature using SignSimpli
If you already have an account and your document is already uploaded as a PDF.
- Click on My Account ⇢My Documents

- To start you will land on a page titled "Documents", below that, click on the document you want to esign and a list of options will appear. Choose "Edit" and your document will open up.

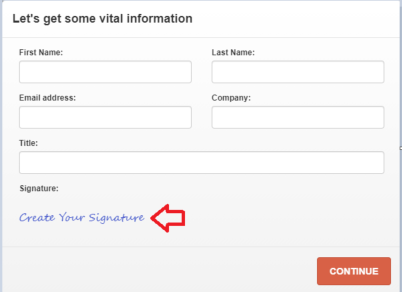
- Next, make sure the few Vital information fields are filled in correctly, then click on ‘Create Your Signature’.
- A pop-up will appear and you can add a signature in 4 different ways.

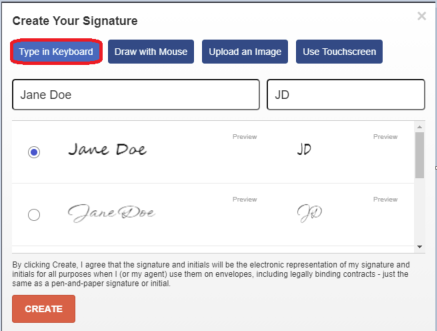
- First option, click "Type in Keyboard". Simply type your name then initials and several options of a cursive signature will appear to choose from. Select your signature style.
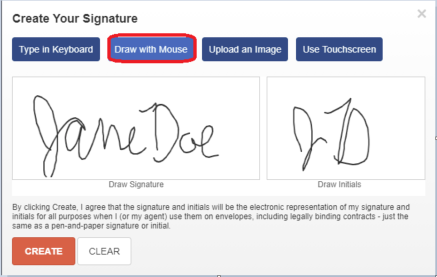
- Second option, click "Draw with Mouse". Simply draw your name then initials and a cursive signature will appear.
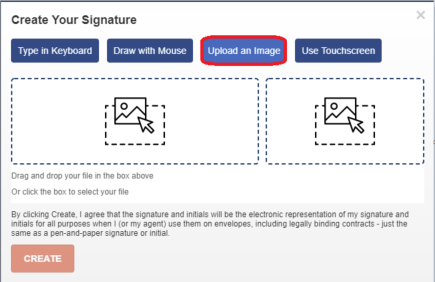
- Third option, click "Upload an Image". Simply choose an image and upload your own signature image.
- Fourth option, click "Use Touchscreen". Simply draw your name then initials and a cursive signature will appear.

- First option, click "Type in Keyboard". Simply type your name then initials and several options of a cursive signature will appear to choose from. Select your signature style.
- After you’ve chosen one of the above four options, click ‘Create’. You will then return to the PDF and add your Signature.
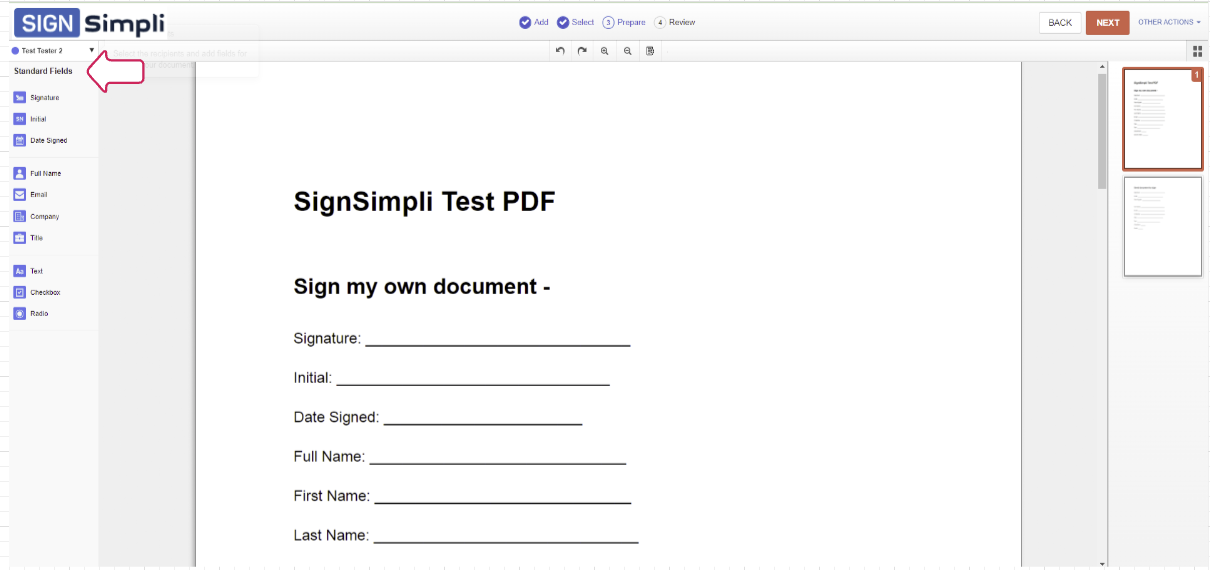
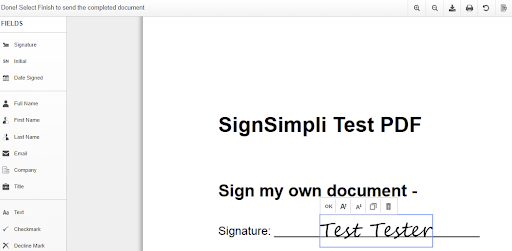
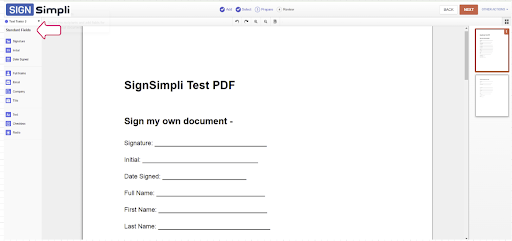
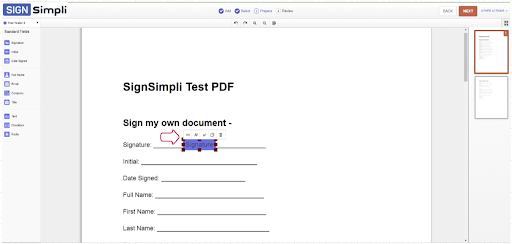
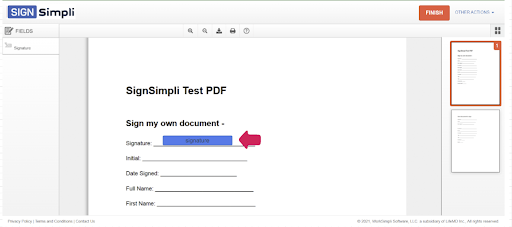
- Next, under ‘Fields’ select the ‘Signature’ then drag and drop using your cursor to place, click wherever you want the signature to appear. It appears with a blue box around it. You can move it by clicking inside the box and dragging to the desired location.

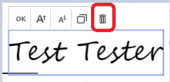
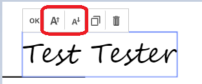
Note: To adjust the size of a field, click on the up or down arrow boxes in the toolbar above the field and adjust to the size you want.
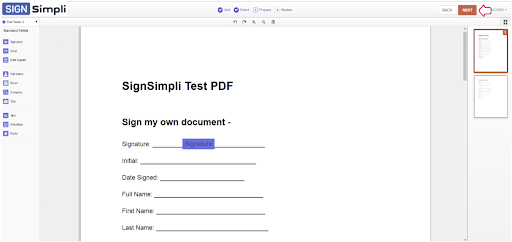
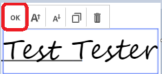
- Once you have the chosen field in the correct location and size, then select ‘OK’ in the toolbar above to place the field on to the document. Tip: You may also select another field and the field will be placed on to the document.

- To delete a field, select the field, then click the trash can icon.
- Add any additional fields. When finished, ensure all fields are correct, then click FINISH to send the document.

4. Create your online signature from your computer
If you already have an account Log into your SignSimpli account.
- Click on My Account ⇢ My Documents

- You will land on a page titled "Documents", below that, click on the ‘+ADD NEW’ and then choose the document you want to upload for signature. A list of options will appear. Choose "Sign" and your document will open up.

- Now click the "Edit" link

- A pop-up will appear and you can add your signature to a document by selecting ‘Sign my own document’
- To start, correctly fill in the few Vital information fields and then click on ‘Create Your Signature’.
- A pop-up will appear and you can add a signature in 4 different ways.
- First option, click "Type in Keyboard". Simply type your name then initials and several options of a cursive signature will appear to choose from. Select your signature style.
- Second option, click "Draw with Mouse". Simply draw your name then initials and a cursive signature will appear.
- Third option, click "Upload an Image". Simply choose an image and upload your own signature image.
- Fourth, option, click "Use Touchscreen". Simply draw your name then initials and a cursive signature will appear.
- After you’ve chosen one of the above four options, click ‘Create’.
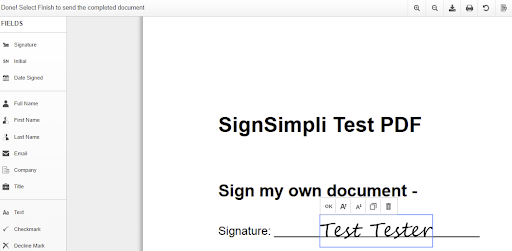
- You return to the PDF and add your Signature.
- After adding the signature select ‘Finish’ to send the completed document

5. Create a Form to Sign
Creating a document for signature to sign is one of the simplest and best ways SignSimpli is used, this is one of the main features used in SignSimpli.
- First, you will be prompted to a screen to choose either ‘Sign my own Document’ or ‘Send document to Sign’ a document. Select ‘Sign my own document’.

- On the next page, choose the correct document you would like to send for a signature and upload your document or create a document from our library of legal forms.

- By selecting ‘Create Document to Sign’ on the next page, search and choose from our library of hundreds of templates to sign.

- Once the document has been selected, navigate to the end.
- Next, fill in the few Vital information fields and then click on ‘Create Your Signature’. After your signature is created then select ‘Continue’ to begin sending your document for a signature.
- Next, under ‘Fields’ select the ‘Signature’ then drag and drop using your cursor to place, click wherever you want the signature to appear. It appears with a blue box around it. You can move it by clicking inside the box and dragging to the desired location.
Note: To adjust the size of a field, click on the up or down arrow boxes in the toolbar above the field and adjust to the size you want.
- After adding the signature select ‘Finish’ to send the completed document

- After adding the signature select ‘Finish’ to send the completed document
- Enter the recipient's name and email address in the fields provided.
- To add more recipients, click +ADD RECIPIENT.
- Complete the email subject and message fields as desired.
- Click SEND AND CLOSE.

6. Create a Form to Send for Signature(s)
Creating and sending a document for signature to only one or multiple recipients is one of the simplest and best ways SignSimpli is used, this is one of the main features used in SignSimpli.
- First, you will be prompted to a screen to choose either ‘Sign my own Document’ or ‘Send document to Sign’ a document. Select ‘Send document to Sign’.
- By selecting ‘Create Document to Sign’ on the next page, choose the correct document you would like to send for a signature and create a document from our library of legal forms.
- Choose from our library of hundreds of templates to send. One or multiple documents can be attached, and are delivered as one document for the recipient.
- Once the document has been selected, navigate to the end.
- Next as the Sender, add in your Vital information into the few fields and then click on ‘Continue’ to begin sending your document for a signature.
- On the next screen that appears add in the Recipient information and then click on ‘Next’.
- Next screen add in the fields by clicking and dragging each field to the selected spot on the document.
- Now add in the fields and then click on ‘Ok’ to place a field on the document.
Note: To adjust the size of a field, click on one of the small boxes around the field and then drag to adjust to the size you want.
- Once all the fields are placed on the document then click on ‘Next’ to send the document.
- Next is the screen that appears before your document is sent, this screen will allow the ability to ‘Review and Send’. Also, add any additional message to the recipient. When finished click on ‘Send Now’ to send the document.

- The last screen that appears is notifying a Sender that the document has been sent.

7. Upload/Create a Document to Send for a Signature to multiple recipients
Sending a document such as an agreement to multiple recipients is almost the same process as sending to one recipient in the above listed section # 6.
The primary differences are that you must:
- Define each recipient, in the order they are to take action on the agreement

- Place fields specifically for each recipient as necessary
8. Add Recipient eSignature
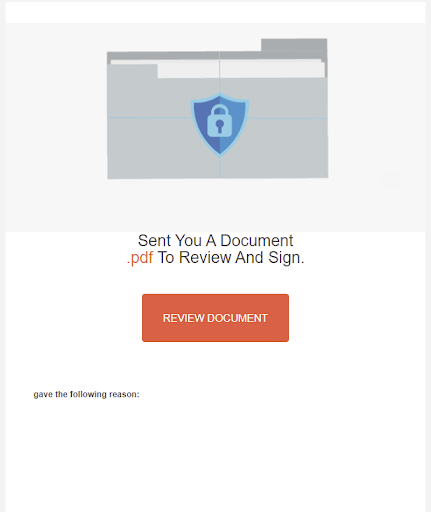
Regardless if you have a SignSimpli account or not, you are still able to sign a document in SignSimpli whenever somebody sends you a signature request. First, you’ll get an email notification. To sign your first document, follow the steps below:
Steps
- Open the Envelope awaiting signature from your SignSimpli email link by selecting the ‘Review Document’ button.
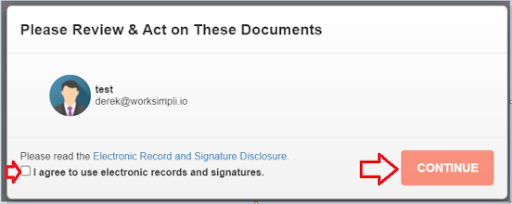
- Next, Review & Act by selecting the Checkbox stating ‘I agree to use electronic records and signatures’ and then click Continue.
- The document that will need to be ‘Reviewed & Signed’ will now appear in the next screen. Simply click on the ‘Signature’ field to ‘Create Your Signature’ to add your digital signature to the document.
Note: Once the Signature is added and if there are any other fields chosen click on the fields that are selected to complete the document. Also, a list under the ‘Fields’ section will appear in the top left corner that have been selected in order to complete the document - Next, fill in the few Vital information fields and then click on ‘Create Your Signature’. After your signature is created then select ‘Continue’ to begin sending your document for a signature. A pop-up will appear and you can add a signature in 4 different ways.

- First option, click "Type in Keyboard". Simply type your name then initials and several options of a cursive signature will appear to choose from. Select your signature style.
- Second option, click "Draw with Mouse". Simply draw your name then initials and a cursive signature will appear.
- Third option, click "Upload an Image". Simply choose an image and upload your own signature image.
- Fourth, option, click "Use Touchscreen". Simply draw your name then initials and a cursive signature will appear.
- After you’ve chosen one of the above four options, click ‘Create’.

Note: To adjust the size of a field, click on one of the small boxes around the field and then drag to adjust to the size you want.
- After adding the signature select ‘Finish’ to send the completed document.
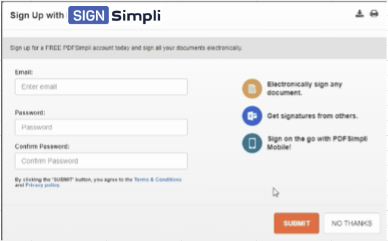
- (Optional) You can sign up with SignSimpli.
- Enter email address in the fields provided
- Enter Password in the fields provided.
- Confirm the Password.
- Click SUBMIT or NO THANKS to close.
- On the last screen that appears this will notify the user the document has been completed and sent.
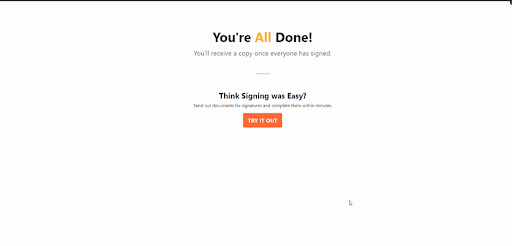
- An email is then sent to your Sender that includes a link to the document notifying that the document has been completed.
9. Use an image of your signature to Digitally Sign documents
One of the easiest ways to sign a document is to insert an image of a signature. A most common workaround that professionals use for signing a document without having to print is keeping an image, usually a photograph/scan of their signature.
SignSimpli lets you import an image of your signature and finish single or multiple documents from multiple sources across multiple formats in a much simpler way.How to upload a signature on SignSimpli: First, what document do you want to sign?
- Get started with clicking on the ‘Sign my own document’ or ‘Send document to sign’ option.
- Next, importing the document or creating one from SignSimpli templates.

- Once the document has been selected or navigate to the end, fill in the few Vital information fields and then click on ‘Create Your Signature’ and choose the option ‘Upload an Image’ to input your signature.

- Next, upload an image of the signature or drag & drop the image of the signature into the window.
Once you upload click ‘CREATE’.

- Lastly, place the signature, resize and add other fields like initials, text and date. Next, click ‘FINISH’ to finalize the document.
- Next, click ‘FINISH’ to finalize the document.

- That’s it! You’re done signing the document. You can email or export the document to other applications, just in a few simple steps. Give it a shot, it’s simple.
(Optional) You can send a copy of your signed document with a message to anyone you would like.- Enter the recipient's name and email address in the fields provided.
- To add more recipients, click +ADD RECIPIENT.
- Complete the email subject and message fields as desired.
- Click SEND AND CLOSE.

10. Adding fields to eSign documents or Send for a eSignature
- First, click the type of field you want to place. Next, drag and drop the field by clicking on the document in the location for the field to appear.

- Once you have the chosen field in the correct location and size, then select ‘OK’ in the toolbar above to place the field on to the document. You may also double click on the field to place the field on to the document.
- To adjust the field position, click and drag the field to the new location.
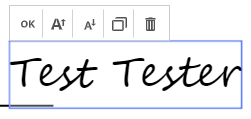
- To adjust the size of a field, click on the up or down arrow boxes in the toolbar above the field and adjust to the size you want.
- To delete a field, select the field, then click the trash can icon.

- Add any additional fields. Repeat this process for any additional signers. When finished, ensure all fields are correct, then click FINISH to send the document.

- That’s it! You’re done signing the document. You can email or export the document to other applications, just in a few simple steps. Give it a shot, it’s simple.
(Optional) You can send a copy of your signed document with a message to anyone you would like.- Enter the recipient's name and email address in the fields provided.
- To add more recipients, click +ADD RECIPIENT.
- Complete the email subject and message fields as desired.
- Click SEND AND CLOSE.
11. Adding fields to Send for a Digital Signature
- First, from the Fields view ensure the correct signer is displayed at the top left corner of the screen. Note: To change signers, click the signer name field, then click the signer you want to apply fields for
- Next as the Sender, add in your Vital information into the few fields (Only if not logged into an account) and then click on ‘Continue’ to begin sending your document for a signature.
- On the next screen that appears add in the Recipient information and then click on ‘Next’.
- Next screen add in the fields by clicking and dragging each field to the selected spot on the document.
- Now add in the fields and then click on ‘Ok’ to place a field on the document.
Note: To adjust the size of a field, click on one of the small boxes around the field and then drag to adjust to the size you want.
- Once all the fields are placed on the document then click on ‘Next’ to send the document.
- Next is the screen that appears before your document is sent, this screen will allow the ability to ‘Review and Send’. Also, add any additional message to the recipient. When finished click on ‘Send Now’ to send the document.
- The last screen that appears is notifying a Sender that the document has been sent.
